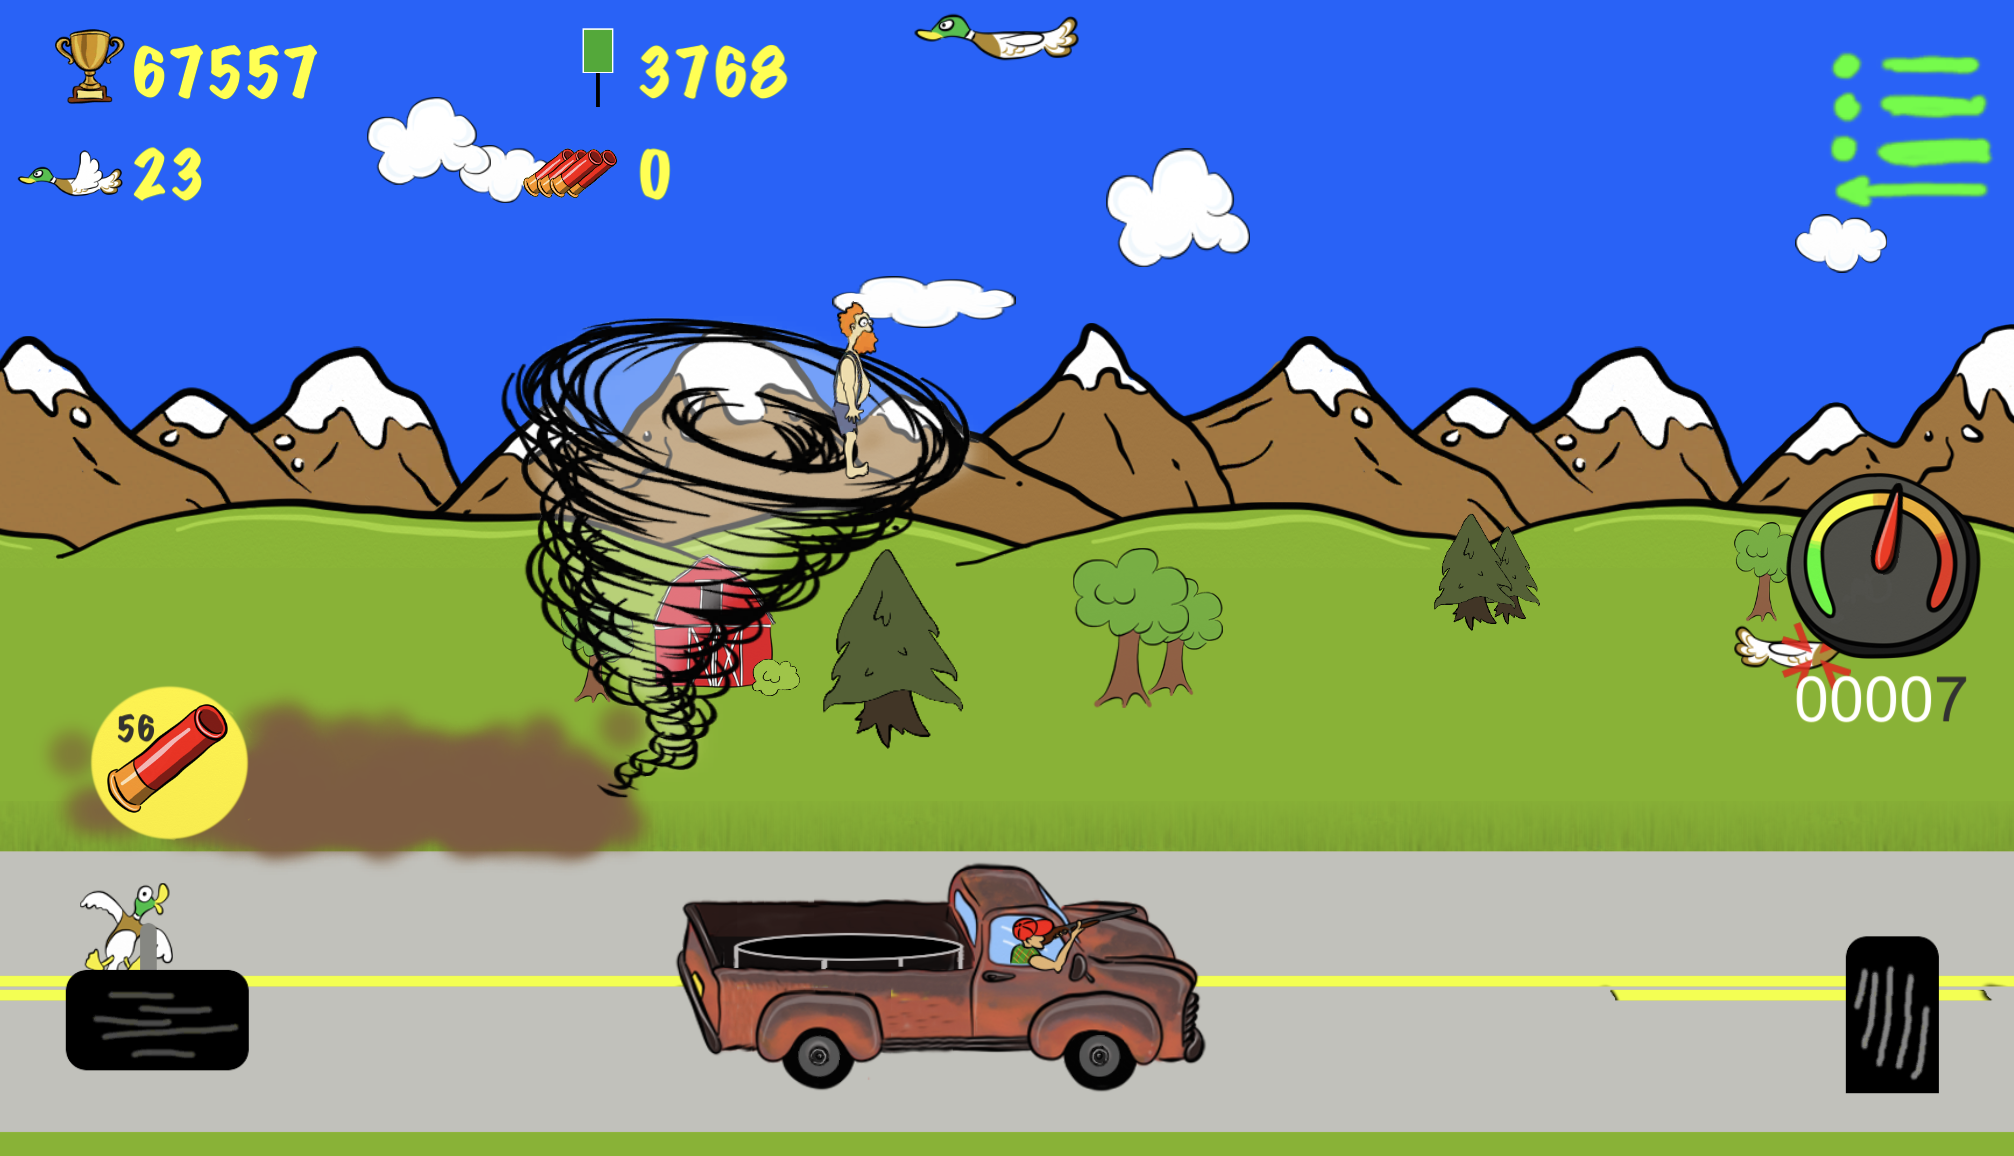
Example Image Upload with YUI Rich Text Editor 2.7.0
It's somewhat slow coming, but I've checked compatibility with the image uploader and YUI version 2.7.0. If you haven't read the original YUI Image Uploader page, start there. After that, you can use this page for an example getting the script to work with the latest YUI.
Launching wxPython apps with an iPython shell
Suppose you want to run your fancy wxPython application but have a shell in the background to peek and poke at certains settings, help debug, and possibly even use an API that your program provides to automate tasks. iPython has built in wx support (as well as support for other GUIs and frontends). So anyway, I've been playing around with this lately and have noticed an inconsistency that needs addressed.
Launching other GUIs with iPython does not block. You instantly get a shell and your application loads. The "-wthread" option for wx applications executes any passed in script before dropping to the shell though.
Problem:
> ipython -wthread myapp.py > # application runs here > # no shell yet > # you exit the application "Welcome to iPython" >>>
If you happened to do things like this, you'd get the expected response:
> ipython -wthread "Welcome to iPython" >>> import myapp # application loads # you instantly have a prompt >>>
Solution:
Tell iPython to launch your app after it starts:
> ipython -wthread -c "import myapp" -i # app loads "Welcome to iPython" # you've got a shell >>>
Anyway, for other threading backends in iPython, the shell doesn't block while the application loads. Perhaps there is a way to get the wx backend to behave the same. In the mean time, I'm using this workaround without any serious issue. Perhaps I'll find a better solution or submit a patch to iPython one of these days.
Fixing the code highlighter for Wordpress
Many of my posts have some sort of code, shell script, or other syntax highlighted portion. I've loved the code highligher plugin for wordpress. The version I've been using (1.8) doesn't seem to have had any updates for quite some time. The only reason that bothers me in the slightest is that there is a syntax highlighting bug in bash commenting. Since the highlighting for the plugin is done with Geshi, You can just download the latest Geshi and overwrite the plugin geshi folder.
> cd /your/wp/plugins/code-highligher > wget http://superb-west.dl.sourceforge.net/sourceforge/geshi/GeSHi-1.0.8.4.tar.gz > # untar geshi files to the current directory > # note that the archive file has a top level geshi directory that the plugin file doesn't have. > # now, if I did this right, my bash comments can contain 'strings' and reserved words df, ls, etc
There are good solutions for maintaining network hardware.
I, by choice, prefer working with software. When I deal with networks, it's usually only so that I can solve some problem and then get back to working on my software projects. That being the case, I often find myself in the following situation:
- Installed latest network hardware
- Configured said hardware and our networks.
- Left network in operation
- Come back two years later when something needs changed.
The story always ends the same. All the equipment I put in has been succeeded by newer, cooler hardware. The stuff we now have is outdated and only available as a support solution.
There are solutions for maintaining a network over time. Multilink Communications Products for instance offers all kinds of old and new Cisco Equipment. You'll have to check them out yourself to see if they suite your needs and if their prices is right, but for me, I found exactly the old firewall model and license that we use in our network VPNs. They have an easy to browse menu of products. It's easy, for instance, to browse to the Cisco Switches and see every model they have available. Once you find what you need, you can request a price quote depending on if you want new, used/refurbished, or simply whatever costs the least. There is also a Hardware and equipment lease option if you like that better.
Extending std::exception
So you're writing some C++ code, feeling all object oriented and all, and you decide you'd like an application specific exception whenever one of your methods has an issue. You'd like to have error messages that the exception can print up if thrown and you think to yourself, "hey, I'll just extend std::exception, add the error string, and be on my way."
Problem: So here is the puzzle. What is wrong with this code:
#include <exception> #include <string> using namespace std; class my_error : public exception { private: string m_err; public: my_error ( const string &err) : m_err(err) {} const char* what() { return m_err.c_str(); } };
Think about it for a bit before scrolling down more. Take a look at the header definition for exception.
Ok, ready to move on? Did you find the problem?
Answer:
The standard exception does not declare it's copy constructor virtual.
exception& operator= (const exception&) throw();
This is in part because in order to provide exception safe c++, the exception class can't throw exceptions itself. This is the same reason using strings member variables is discouraged for exceptions. Their constructors can also throw exceptions. Anyway, the result is that if client code catches std::exception, copies the exception, and prints it, m_str hasn't been copied and you get garbage or errors. Not what was expected was it.
Solution
This whole problem was loaded just slightly. There is already a standard exception that can take a string message as an argument.
#include <stdexcept> class my_exc : public runtime_error { public: my_exc ( const string &err ) : runtime_error (err ) {} // there, you can add more methods here. // remember, you can't add data members any more here // than you can add them to exception derived classes though. };
Get it? Got it? Good.
Adding more disk space with LVM2
I've always known that virtualizing things can make management of all types of resources easier. Recently, I had the most pleasant experience adding disk space to a virtual machine. Of course, if you use LVM, this can happen just as easily with real physical disks, but for me, I was able to do this without restarting my machine.
Issue: I'm out of disk space on my root partition.
Solution: The root partition is created on a logical volume with LVM2. Just add another disk, extend the volume group, and then extend the logical volume.
# Added new physical partition /dev/sda3 # create a physical volume out of it > pvcreate /dev/sda3 # Now, add it to the volume group that my logical volume is on > vgextend VolGroup00 /dev/sda3 # Now that the volume group has more disk space, the logical volume can grow > lvextend -L+11G /dev/VolGroup00/LogVol00 # Ok, last of all, I want to filesystem to recognize that more space is available > fsadm resize /dev/VolGroup00/LogVol00 # sweet, I have more space now > df -h
All that was done without having to take the system off line. Linux makes life easy sometimes doesn't it!